


So, you probably already know that FBA is where Amazon leaves you to do all the glamorous stuff like marketing your product and watching the money roll in, whilst they fulfill the order, post it out, and the other nitty-gritty, little jobs that nobody likes doing… for a small cut.
But what you might not know is that you need a CRM system for your FBA business. Why? If you’re not dealing with customers, why oh why would you need a CRM for FBA business then?
- Organise potential suppliers down a pipeline.
This shows where you are in negotiations, such as if they are a lead, whether they have been contacted, and whether a deal has closed.
NetHunt’s pipeline feature is super easy and fully customisable. You can organise your suppliers down a visualised pipeline depending on where they are in negotiations. Then, you can provide relevant employees at your business access to this pipeline. - Various sales channels, aggregated.
You’re not bound to Amazon, afterall. You can use CRM in a more traditional sense and keep all your data in one, single place; and you can go further to have different pipelines for different channels. NetHunt gives you the opportunity to create different pipelines for different purposes. - A one-stop address book for all your contact information, as well as a full communication history between the two parties for full clarity of context between your team.
Obviously. Good communication is at the heart of every good business. Successful business people know a lot of other successful business people, and they need somewhere to store their contacts. As you enter negotiations with different suppliers, everything is stored in your NetHunt dashboard with full access to anybody in your team who needs it. - Get on top of profitability data.
NetHunt allows you to compare your orders against imported data of sales you’ve made to understand the profitability of your business. NetHunt’s powerful reporting features gleans all your juicy data and puts it in a report automatically! - And finally, bulk email campaigns.
Let's check out this handy little guide for the ways NetHunt CRM can be used by Amazon sellers.
What is NetHunt CRM
NetHunt CRM is a Gmail CRM, it lives inside your inbox. Neat little customisable system which you can bend and fit any business you need, never mind your FBA one. FBA sellers will benefit from comprehensive pipeline management, the ability to track multiple marketplaces at the same time with those pipelines, and the segmentation feature that separates different suppliers depending on what they supply. We love productivity, and automated tasks and reminders help you stay focused on exactly what needs doing and when. Meanwhile, the mobile app keeps your business in your pocket at all times.
As if that’s not enough, you can integrate a heap of different apps to NetHunt via Zapier. Did I say heap? I meant a mountain. There are over 2,000 different, integratable apps, and rising.
How much does NetHunt CRM cost? Well after the 14 day free trial upon initial registration where there’s no credit card required. We’ve got subscription plans starting at $24 a month per user. So get it whilst it’s hot.
How to manage your contacts in NetHunt CRM
If you create a NetHunt CRM account from this page, you will find that your workspace is specifically tailored to fit your FBA business.
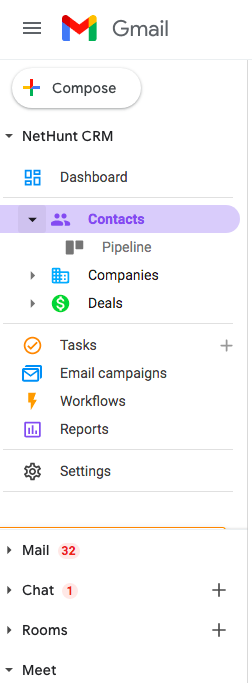
There will be three key folders in your CRM accessible from the left-side navigation panel:
- Contacts;
- Companies;
- Deals.
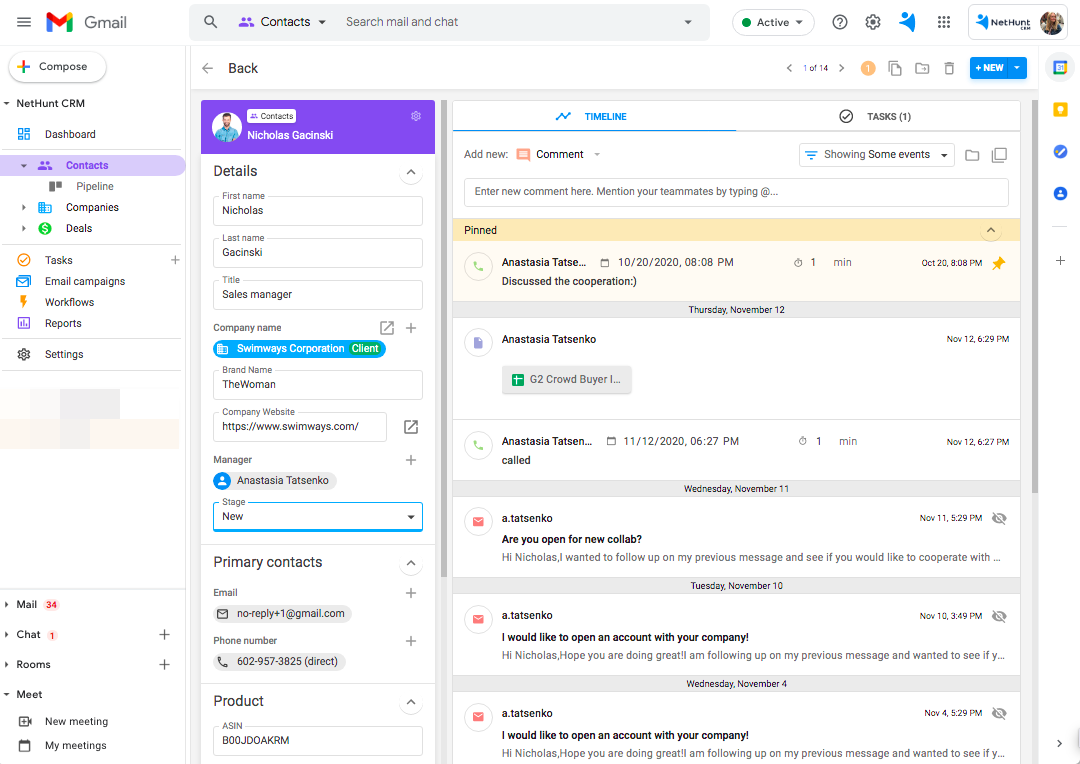
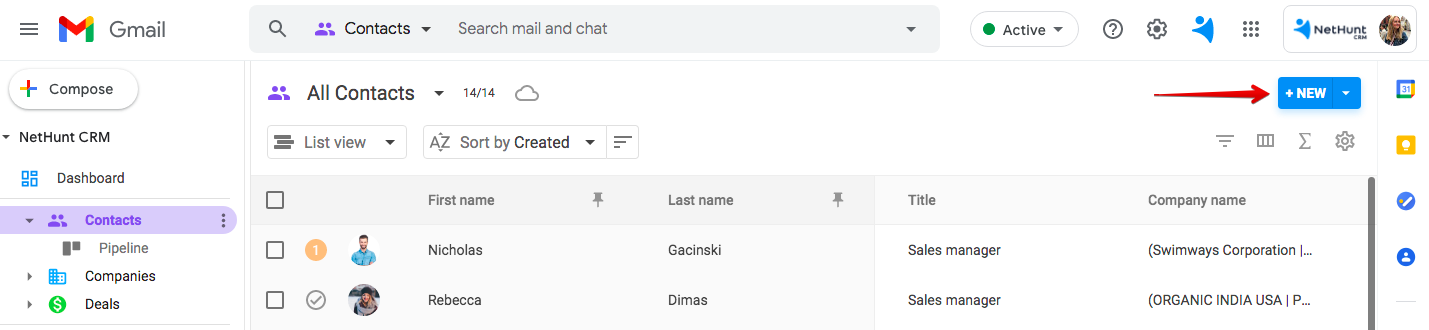
The Contacts folder contains all the contact records that you will find and collect.
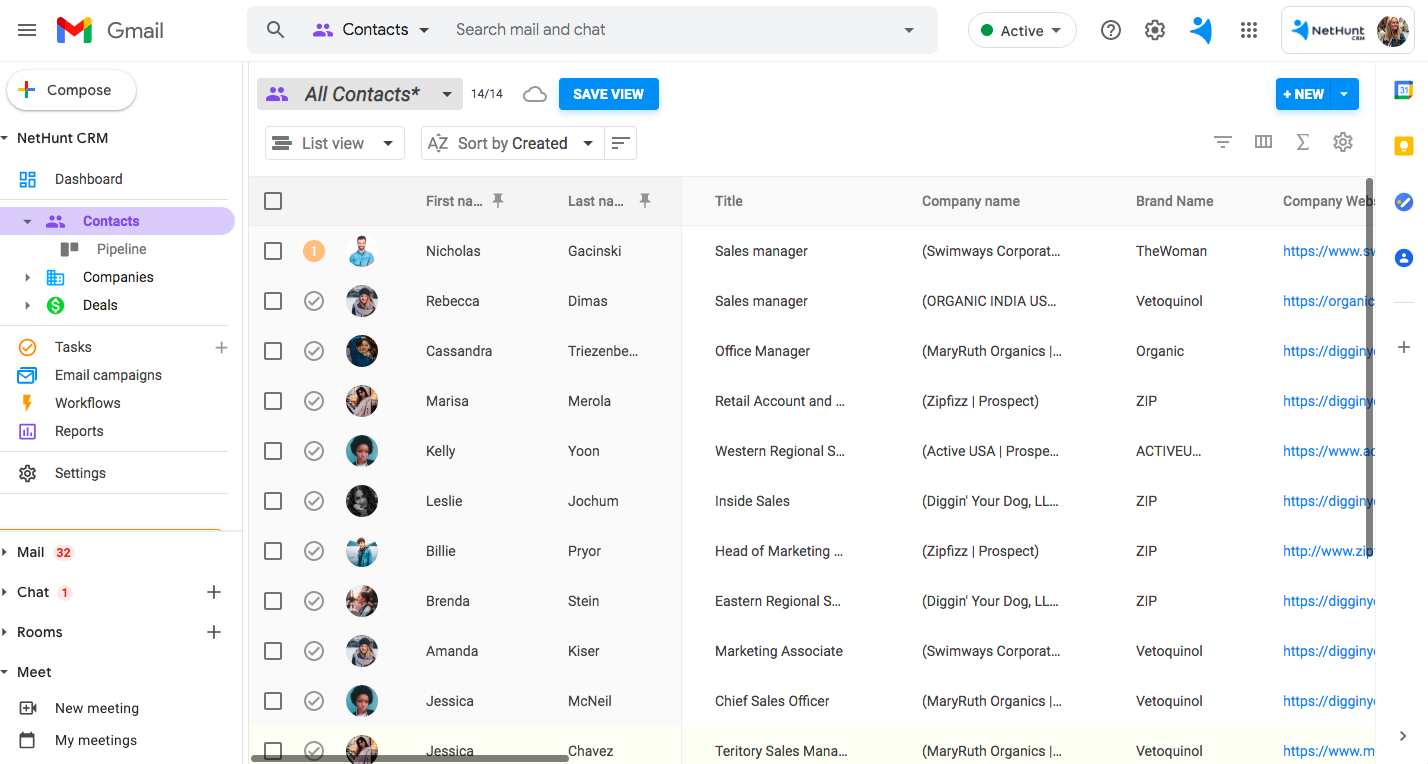
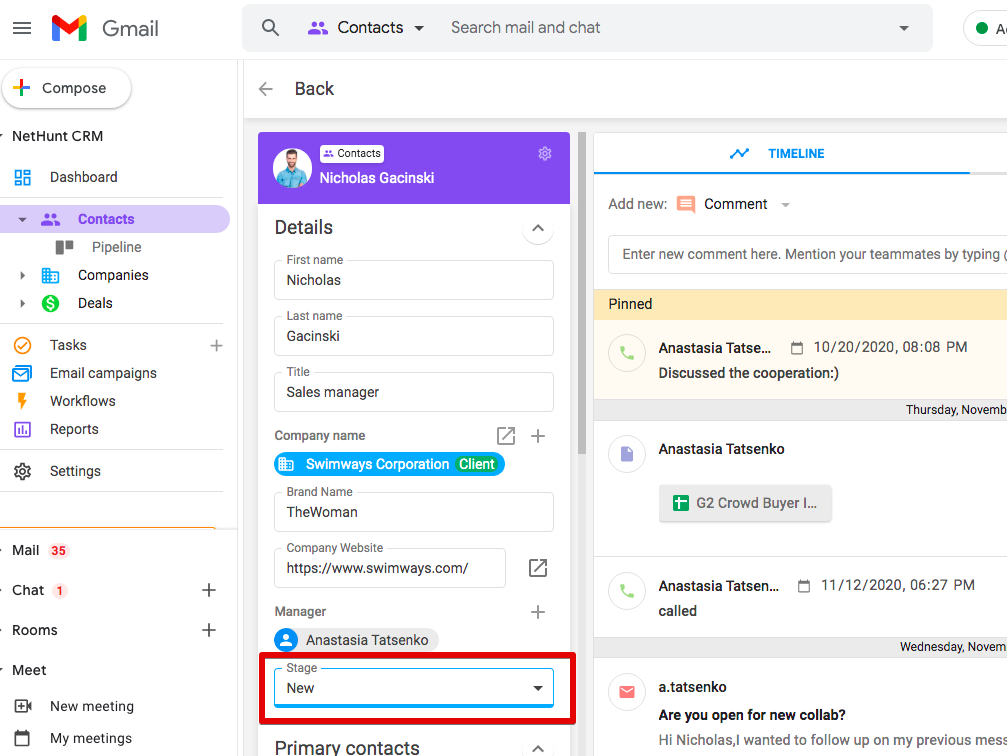
Each contact record contains a complete profile, including (but not limited to) first name, last name, title, company, brand name, website, stage, Amazon-specific fields (ASIN, product page link, 21 point score, monthly revenue, etc.), linked emails, comments, calls, files, events, tasks, and more. The profile structure is editable and you can always add more fields to track more data related to your contacts.
To import your existing contacts to NetHunt from the spreadsheet, please follow this tutorial. Once contacts are imported, they will all be available in the Contacts folder. To add more contacts, use the +NEW button in the upper right corner.
A more in-depth tutorial on working with CRM records is here
How to organize your database and create a pipeline
Your contacts can be organized in a bunch of different ways and then saved for future reference. In your workspace, there is already a view called Pipeline that displays your contacts grouped by their Stage.
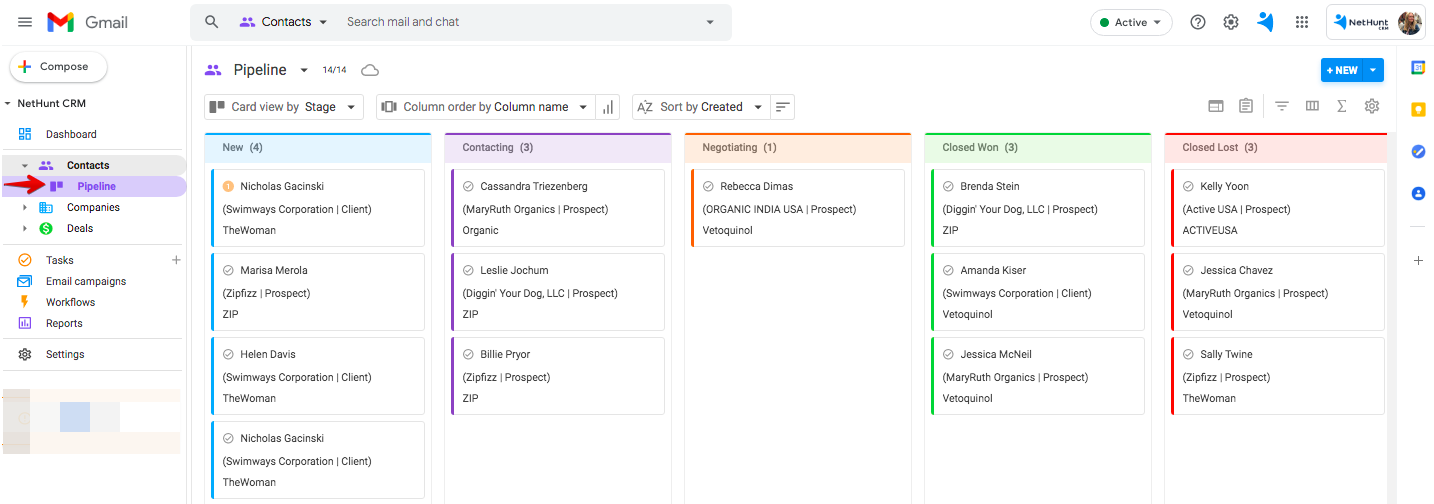
Default stages available for contacts are:
- New: for the contacts that you have not yet included in your outreach campaign.
- Contacting: includes the contacts with outreach activities in progress.
- Negotiating: for the contacts that replied to you and with whom the conversation is on.
- Closed Won: for won opportunities.
- Closed Lost: for lost opportunities.
You can edit these stages in the settings at any time if you feel like your pipeline differs from the default one. Add new stages, rename the existing ones, change the colors for stages — it is all available in the settings.
Once all your contacts are assigned a specific stage in the profile, they will be available in the Pipeline view listed under this stage.
A more in-depth tutorial on working with views and filters is here
How to send automated email sequences from NetHunt
For example, you would like to send automatic emails to your contacts when their Stage is changed from New to Contacting.
1. Go to Workflows in the left-side navigation panel and create a new workflow.

2. Create a Trigger: Field value change. This trigger will initiate our workflow and start the email sending.

Field value change means that we need to trigger a specific field change to start the sequence. In the set up we choose our folder (Contacts), the field Stage and a specific value the field changes to > CONTACTING. Once the record is dragged towards it we will send the first email.

3. Select the first Action (what will happen after the trigger works). Here we need the action SPLIT PATH. We will design two scenarios.
Branch A - Send email chain.
Branch B - Stop the sequence to a contact who responds to any follow up emails.
4. Branch A. Here the first action will be to SEND AN EMAIL (1st):

Now compose your first email.
Choose FROM: from which user the emails will go out.
TO - specify the recipient's email.
In the body of the email you can create the body from scratch or choose from the existing template. Alongside, add macros (e.g. First name).

Add the new action: Wait for (Time). This is where you indicate the interval between the first email and the second one. I indicated 5 days to wait for the reply.

Add another action Send an email. Make your second template.
Add another action: Wait for (Time). Here you can add 3 days.
Add another action Send an email. Make your third template.
Add another action: Wait for (Time). Here you can add 5 more days. Since it is my last email in the sequence I wait for 5 days for the reply. In case the reply hasn't been received.
Add another action: Update record. We need it here in order to change the Contact's Stage from Contacting into Lost. We haven't received the answer, so we put the lead to the Lost Stage.

5. Branch B. This is our 2nd scenario. If your lead replies to any of your emails throughout the time frame of the automation (with all the waits) - e.g. they reply to your second follow up. This means you wouldn't want to send them the third email, right. This is why we build the Branch B.
Add the action: Wait for email. This will trigger any incoming email from your lead.

Then add the action: Update a record. You need to update the field Stage into Negotiating. The contact record will be put automatically to Negotiating stage and you will be manually responding to their email.

Now you need to add the last action: End workflow.

This is how your workflow looks like:

Now you need to activate it:

6. Test the automation. Go to the Pipeline, select all the New contact records and drag them to the stage Contacting. Our triggering stage.

Emails will be sent automatically. You can check the records timelines:

7. Check the workflow stats.
You can now see that 5 emails have been sent. There are 5 emails (records) in the waiting stage. The second email will be sent in 5 days as we established in the settings. If you receive an answer from the client - the record will be taken out of the Branch A and put to Branch B and changed the stage into Negotiating.

If you want to edit your workflow (add another template, add another wait etc), click on the button below and update it:

Having made changes - Publish the workflow again. All the stats will be preserved.

More automation scenarios are available here


 product experts — let's find the best setup for your team